Version 1.0 | October 31st, 2019 | Ugly First draft- nji |
Hello!
Since I was in middle school, I've always wanted to build my own high powered game rig. Of course, it's a little more difficult to come up with the finances for this project when you're a child, but I promised myself when I got older I would do it. Fast forward to 2019 and I've finally crossed that off my bucket-list. And it was everything I thought it could be! The last part of that dream was to do a write up on it – a little cliché in 2019 but I might as well run through the finish line. This isn't a tutorial, just some thoughts on how it felt to build a computer for the first time.
Why?
When I was younger, Voodoo PC's and AlienWare were the best you could ask for when it came to gaming PC's, and they were extremely expensive. Now it's actually pretty easy to find a good game pc for a relatively good price, so why bother with building one by hand?
Well, for starters, building a game pc is still much cheaper than buying one “off the rack” per se. It is also much easier to control where you spend your money when building one by hand – you can decide if you'd like to put more of the budget into the graphics card, the PSU, or even just on LEDS/the case to make it sexy.
But most importantly, in a world where tech & auto companies are dicentivizng consumers from opening up their products, it is important to keep the maker/builder tradition alive. When things don't work, it's important to feel confident in opening them up, reverse engineering the problem, and solving it yourself. Not merely to solve the problem, but for the joy of the process of solving the problem. Humans are curious, tool building animals, and the more we outsource that problem solving, the more we lose touch with that essential aspect of our nature. The nerves you feel as you press the power button for the first time, the satisfaction of hearing the fans whir and seeing the BIOS flash onto the screen as the machine powers on makes all the effort worth it, and begs the question...
What else can I do?
My Machine
Ok, enough navel-gazing. Here are the parts I used in my computer (the sexy ones).
Fractal Design Meshify C
Corsair CX Series 550 Watt
GeForce RTX 2060 Super Gaming X !!!
AsRock B450m Motherboard
AMD Ryzen 5 2600 Processor
2 500GB SSD's
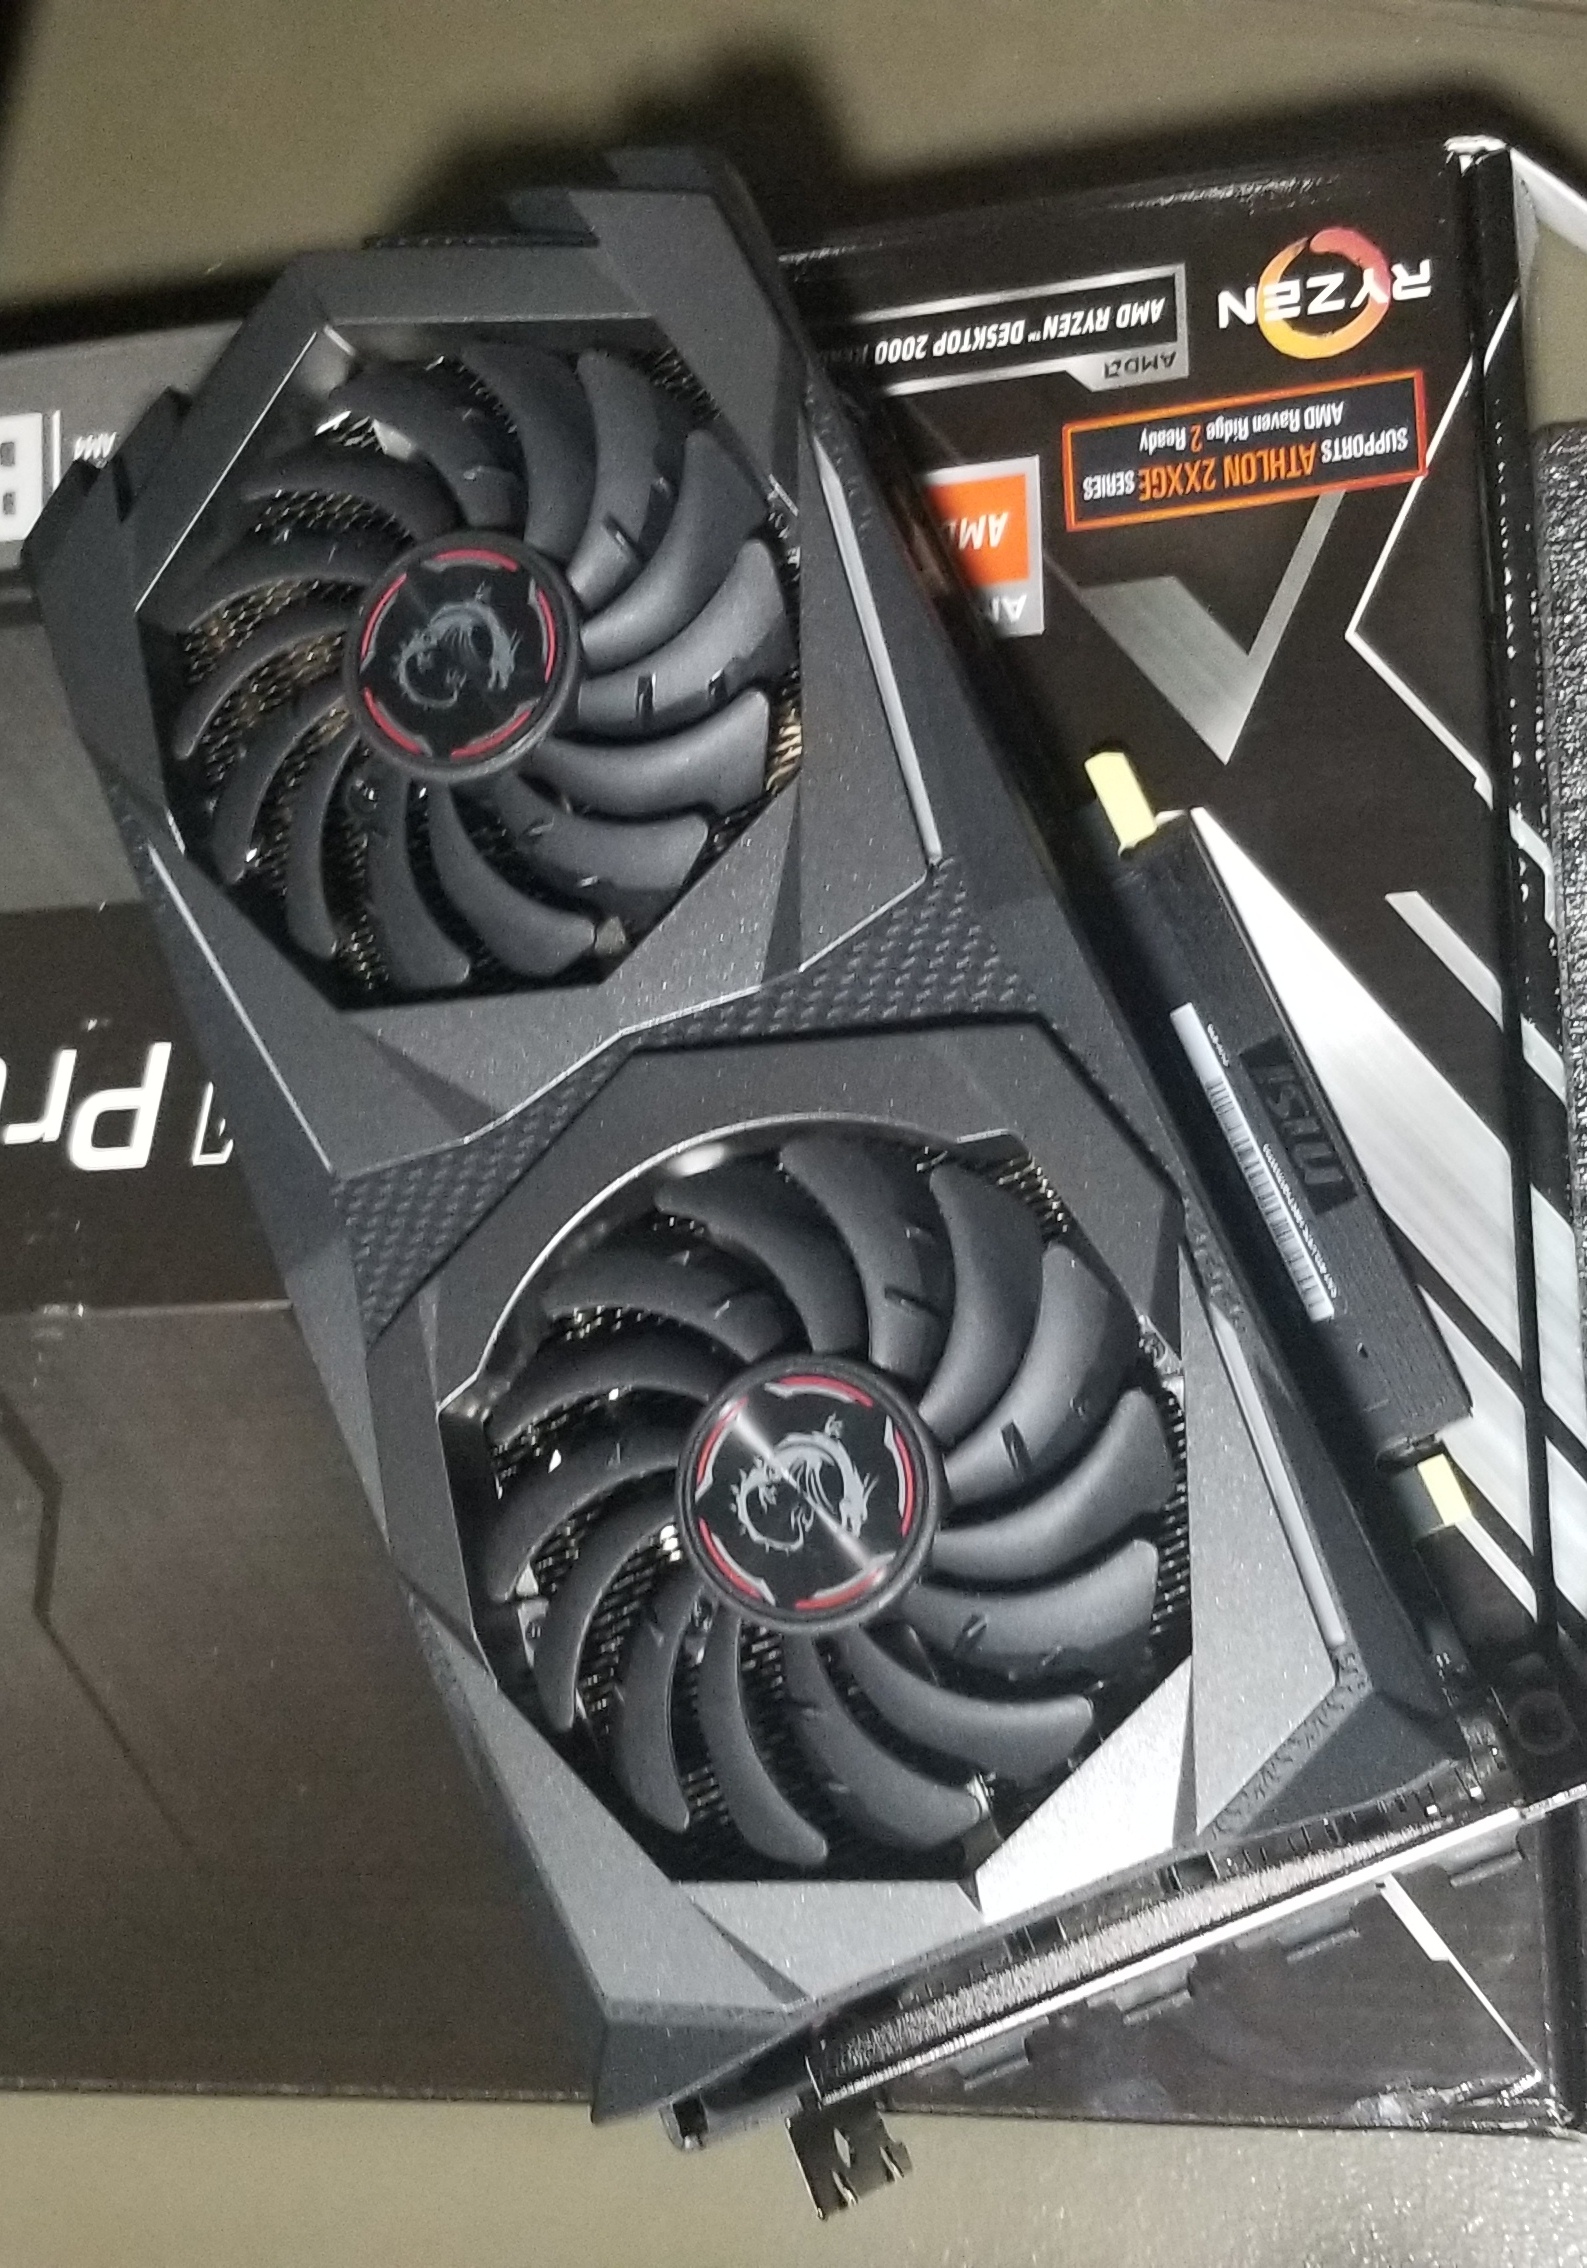
Absolutely positively my favorite part of this whole process was unboxing the graphics card. I splurged on the best graphics card I could get – and I was thrilled when I got it. It was much heavier than I expected it to be, and I instantly got the feeling I used to get as a child when I'd read GameInformer and look at articles on graphics cards, wishing I could get one.

The Process
It took me about 8 hours (with some breaks mixed in) to finish the build. I bet I could finish the build in half that time now, but I was very nervous about connecting the chips into their proper ports. Also, pro-tip, insert the graphics card LAST. A large, super powered graphics card takes up a lot of space, and connecting the usb/audio/etc ports to the motherboard becomes much more frustrating when navigating around the card.
The Result
The first game I downloaded was Total Warhammer II – and I could not be happier with the result. Being able to play all the games I've watched on max settings is unbelievable – true nerds know that every kid dreams of being able to max out settings. Best decision I've made in 2019. Like all my writeups, this is a living document. I'll update with more about the build soon!